Introduction
Remote Blob Storage (RBS) facilitates storage of BLOB data outside the SQL Server Content Database onto the file system by using the FILESTREAM feature of SQL Server 2008. The advantages of storing BLOBs on the file system are:
By default, the filestream_access_level parameter in SQL Server is set to 1 (Enables FILESTREAM for Transact-SQL access). In order for the RBS provider to function properly, this parameter must be set to 2 (Enables FILESTREAM for Transact-SQL and Win32 streaming access).
Provision the Content Database to use RBS Filestream Provider
use [ContentDbName]
if not exists (select * from sys.symmetric_keys where name = N'##MS_DatabaseMasterKey##')create master key encryption by password = N'Admin Key Password !2#4'
use [ContentDbName]
if not exists (select groupname from sysfilegroups where groupname=N'RBSFilestreamProvider')alter database [ContentDbName]
add filegroup RBSFilestreamProvider contains filestream
use [ContentDbName]
alter database [ContentDbName] add file (name = RBSFilestreamFile, filename = 'd:\Blobstore') to filegroup RBSFilestreamProvider
Where [ContentDbName] is the content database name, and d:\BLOBStore is the directory in which you want the BLOB store created. You can provision a BLOB store only one time.
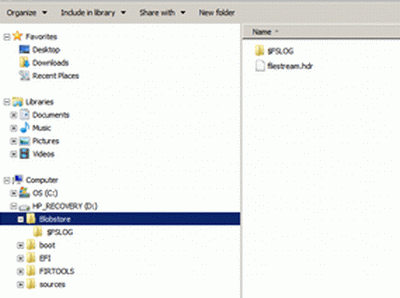
You should see something like this on the file system.
Install RBS
You may the following error while installing RBS:
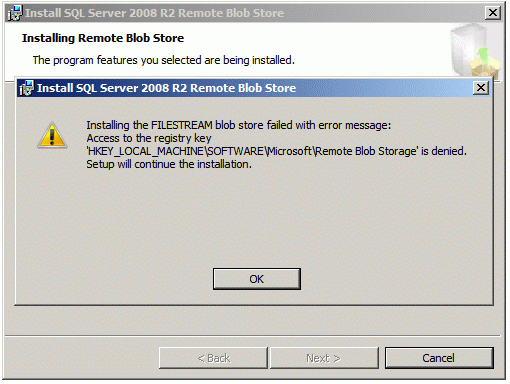
You need to disable User Account Control. Follow below steps.
Remote Blob Storage (RBS) facilitates storage of BLOB data outside the SQL Server Content Database onto the file system by using the FILESTREAM feature of SQL Server 2008. The advantages of storing BLOBs on the file system are:
- Cheaper storage solution.
- Improved database performance since database size becomes smaller as BLOB data is stored on the file system.
- Better integration of SharePoint with other ECM systems.
- Small and medium size customers can get around with the SQL Express limit of 4GB DB size.
- Enable FILESTREAM on SQL Server
- Provision the Content Database to use RBS Filestream Provider
- Install RBS
- Enable RBS on Content Database
- Test RBS data store
- Click Start => All Programs => SQL Server 2008 R2 => Configuration Tools => SQL Server Configuration Manager.
- Under SQL Server Configuration Manager in the left pane, select SQL Server Services.

- Locate the instance of the SQL Server that needs to be enabled as shown above.
- Right-click the SQL Server instance and select Properties.
- In the SQL Server Properties dialog box, select the FILESTREAM tab.
- Ensure that Enable FILESTREAM for Transact-SQL access is checked.
- Ensure that Enable FILESTREAM for file I/O stream access is checked.
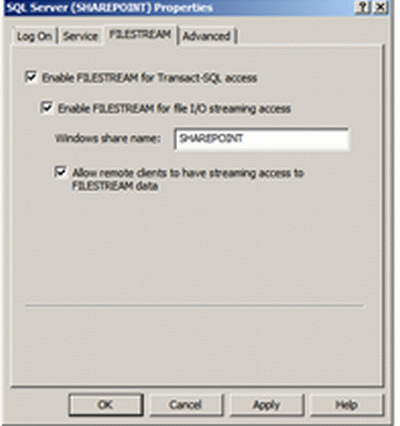
- Ensure that Allow remote clients to have streaming access to FILESTREAM data is checked as shown above.
By default, the filestream_access_level parameter in SQL Server is set to 1 (Enables FILESTREAM for Transact-SQL access). In order for the RBS provider to function properly, this parameter must be set to 2 (Enables FILESTREAM for Transact-SQL and Win32 streaming access).
- Open SQL Management Studio and click New Query to launch the Query Editor
- Execute the following commands using the Query Editor:
EXEC sp_configure filestream_access_level, 2
RECONFIGURE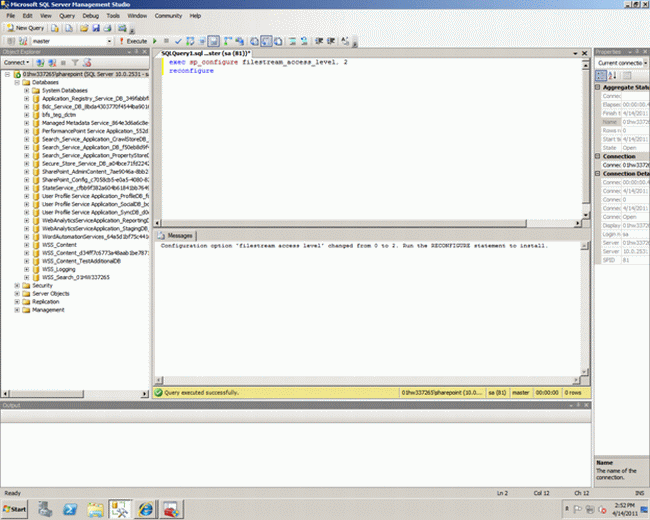
3. To verify that the configuration has been enabled, execute the following command using the Query Editor:
EXEC sp_configure filestream_access_level
The results should look like this:
Provision the Content Database to use RBS Filestream Provider
- Select the content database for which you want to create a BLOB store, and then click New Query.
- In the Query pane, copy and execute each of the following SQL queries in the sequence provided here.
use [ContentDbName]
if not exists (select * from sys.symmetric_keys where name = N'##MS_DatabaseMasterKey##')create master key encryption by password = N'Admin Key Password !2#4'
use [ContentDbName]
if not exists (select groupname from sysfilegroups where groupname=N'RBSFilestreamProvider')alter database [ContentDbName]
add filegroup RBSFilestreamProvider contains filestream
use [ContentDbName]
alter database [ContentDbName] add file (name = RBSFilestreamFile, filename = 'd:\Blobstore') to filegroup RBSFilestreamProvider
Where [ContentDbName] is the content database name, and d:\BLOBStore is the directory in which you want the BLOB store created. You can provision a BLOB store only one time.
You should see something like this on the file system.

Install RBS
- Double-click
the rbs.msi (10.50.x.x) and follow the steps as shown below. Provide
the Server\Instance name, Content Database name and FileGroup. Make sure
to select the Windows Authentication.
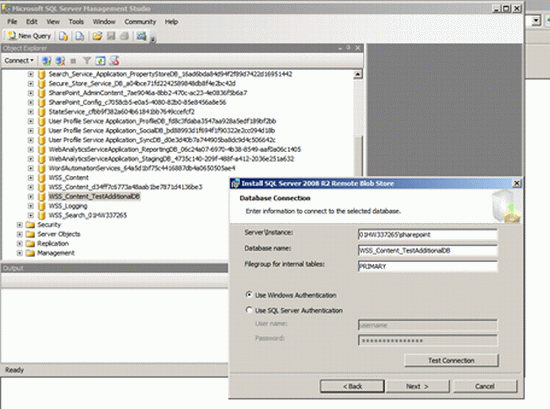
- In
the next screen where the FileGroup for FileStreamProvider is asked -
make sure to give the correct name. As in this case it is
RBSFilestreamProvider.
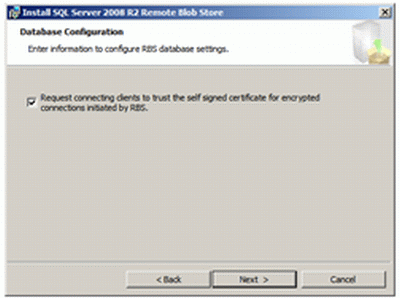
- Select the check box for TRUSTSERVERCERTIFICATE.
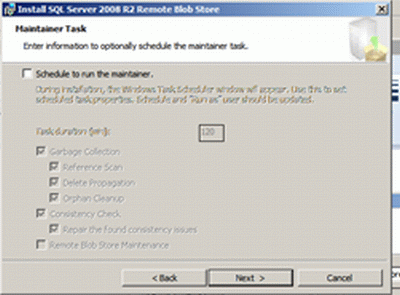
- For now do not choose to install the maintainer task.
- Mention the Store Name or accept the default name.
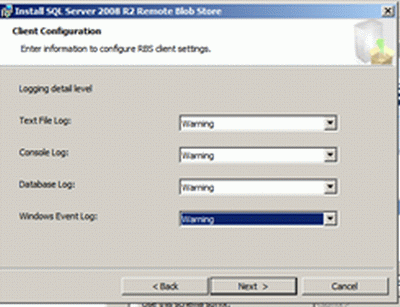
- Choose the logging level details:
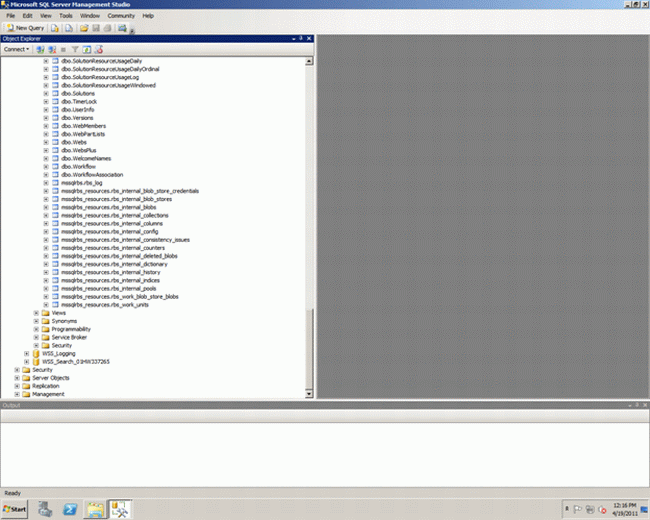
- Once the installation is done you will see tables added in the Content Database as below.
You may the following error while installing RBS:

You need to disable User Account Control. Follow below steps.
- Click Start, and then click Control Panel.
- In Control Panel, click User Accounts.
- In the User Accounts window, click User Accounts.
- In the User Accounts tasks window, click Turn User Account Control on or off.
- If UAC is currently configured in Admin Approval Mode, the User Account Control message appears. Click Continue.
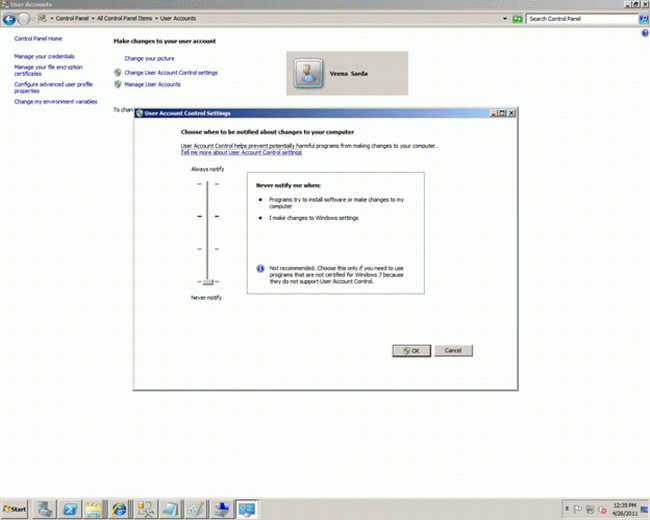
- Clear the Use User Account Control (UAC) to help protect your computer check box, and then click OK.
- On the Start menu, click Programs, click Microsoft SharePoint 2010 Products, and then right click SharePoint 2010 Management Shell and run as Administrator.
- At the Windows PowerShell command prompt, type each of the following commands.
$cdb = Get-SPContentDatabase –WebApplication http://SiteName
Where <http://SiteName> is the URL of the Web application that is connected to the content database.
$rbss = $cdb.RemoteBlobStorageSettings
$rbss.Installed()
$rbss.Enable()
$rbss.SetActiveProviderName($rbss.GetProviderNames()[0])
$rbss
- I was facing an issue at command $rbss.Installed() as shown below. When I printed only $rbss the following was the result.
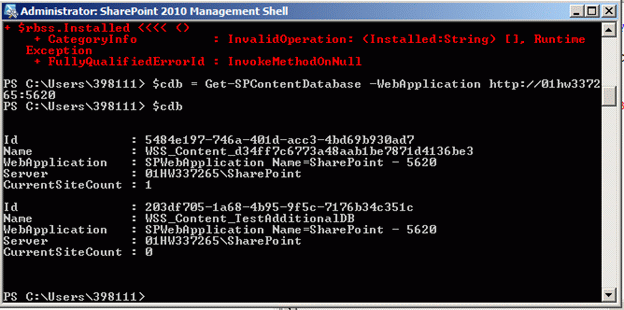
- The problem was there were more than one Content Databases attached to the Web Application where I was enabling RBS. After removal of the second database the above commands worked smoothly.
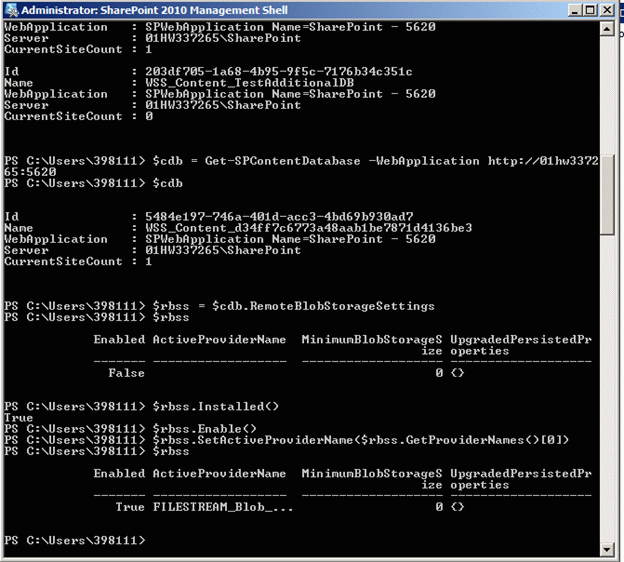
- The final result is as shown below.
- Connect to a document library on any Web server.
- Upload a file that is at least 100 kilobytes (KB) to the document library.
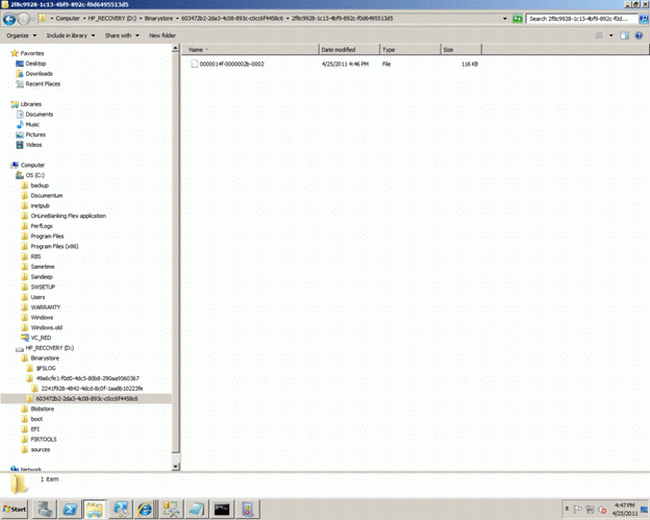
- On the computer that contains the RBS data store, click Start, and then click Computer.
- Browse to the RBS data store directory.
- Browse
to the file list and open the folder that has the most recent modified
date (other than $FSLOG). In that folder, open the file that has the
most recent modified date. Verify that this file has the same size and
contents as the file that you uploaded. If it does not, ensure that RBS
is installed and enabled correctly as below.
- If you check the database you will see the followiing. In the table AllDocStreams where the Content is actually stored, there is a Null in the Content column and value in the RBSId column.
No comments:
Post a Comment